
Choosing an Operating System
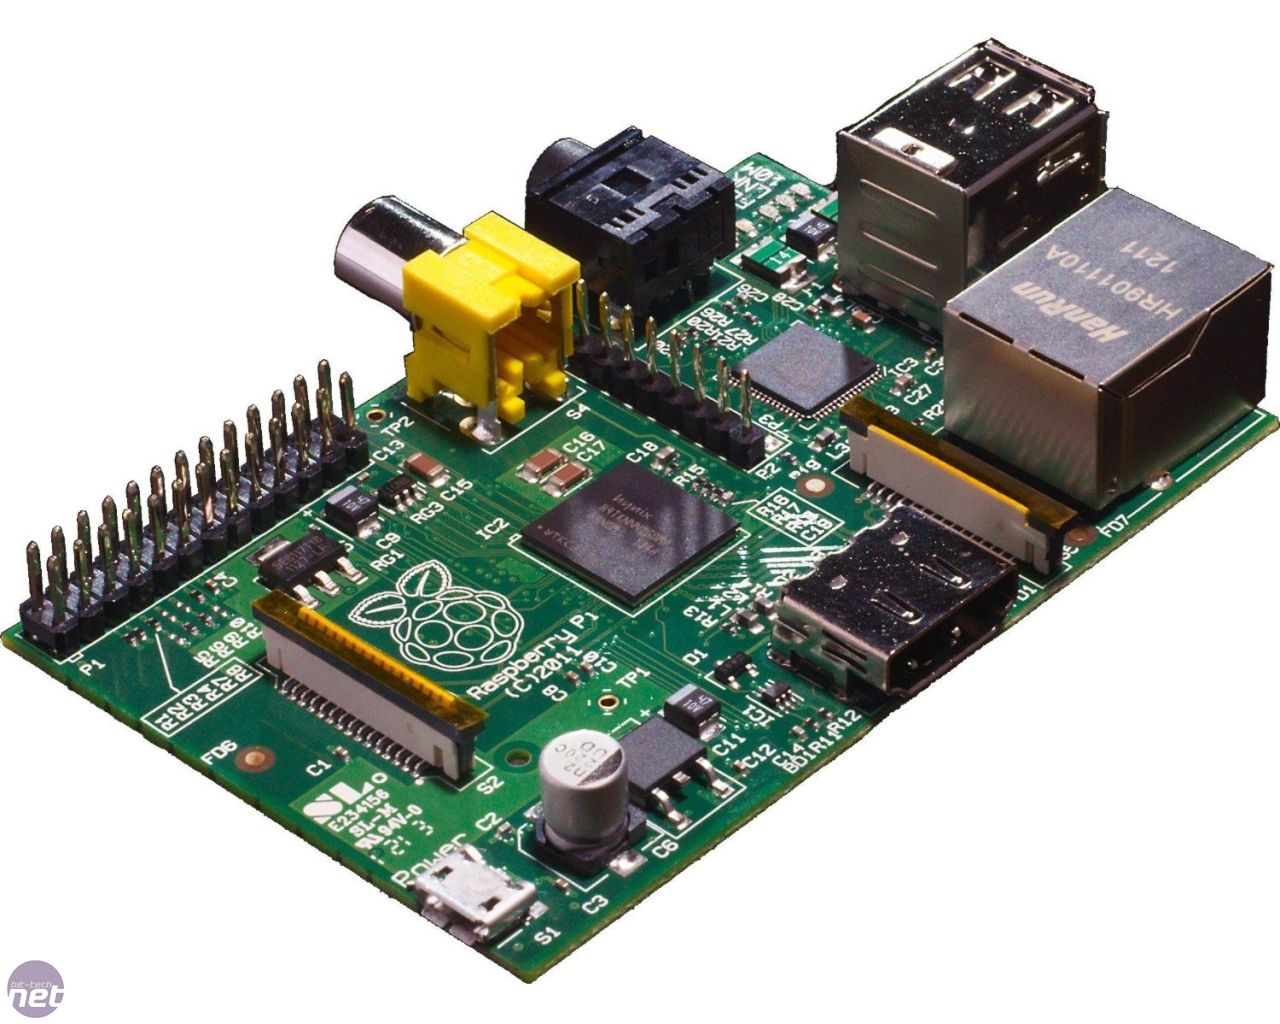
Once we purchased our Raspberry Pi (model A, B, or B +), we need a SD (or other card with adapter) where we'll install our OS (the more capacity you have, the better). Here you have some of them:- RASPBIAN: Debian Wheezy
- PIDORA: Fedora Remix
- OPENELEC: An XBMC Media Centre
- RASPBMC: An XBMC Media Centre
- RISC OS: A non-Linux distribution
- ARCH LINUX: A lightweight Linux distribution
- NOOBS: Offline and network install
In my case I will install Raspbian which is like Debian, and allow me to install servers, software, etc.
Preparing SD card
If you use Windows, you can format it using 'right click' or the tool SDFormatter .In Ubuntu you can use gparted:
sudo apt-get install gpartedTo use it you need to be root:
sudo gpartedNow in the top right corner (where it says /dev/...) choose the one of the SD card (by default is your hard drive, be carefull). Assure that you select the SD Card (the total capacity should be approximately the size of the card) or you can disconnect it and connect it to see who appears/disappears.
If you are sure, delete the partition(s) and apply format ( FAT32 ) and apply changes.
This utility will also enable you to manage partitions (create, resize, delete, format, etc).
Burn the image
From Windows :Download and install Win32DiskImager here . Then open it and select 1. picture 2. the SD unit.
From Ubuntu :
Like in windows we can use an application with graphical interface and follow the same steps:
sudo apt-get install gparted usb-imagewriter
sudo usb-imagewriter
From terminal
Once we would have downloaded, extract it and open a terminal. Navigate to the folder where it is (in my case Downloads ):cd DownloadsWell, now pay close attention because you can erase the contents of your partition. First let's see which devices are connected:
df -hNow connect our SD card and re-run the command. The device which came is where we'll copy the new image. (If not open your SD from the manager folders to be mounted). In my case it is /dev/sdb1 (I have only one partition, if I had more will appear as sdb2, sdb3 ...). Now unmount the SD (do it with all partitions):
sudo umount /dev/sdb1/Now copy the image ( beware of this because if you are wrong you will lose all data on the hard disk or drive ):
sudo dd bs=4M if=image_name.img of=/dev/sdb
sync*Note 1: Do not put the "1" (indicating the partition), that is, you have to put (in my case) /dev/sdb and no /dev/sdb1.
*Note 2: This command shows no output and appears to be 'frozen'. Simply you have to wait because it may take a few minutes.
Done! We have ready to use our SD car in the Raspberry.
Thanks for sharing the information....
ResponderEliminarJava Training In Noida
ResponderEliminar